> ## Documentation Index
> Fetch the complete documentation index at: https://docs.deelrxcrm.com/llms.txt
> Use this file to discover all available pages before exploring further.
# Inventory intake and adjustments
> Add products, record goods received, and correct a verified count in Inventory.
 ## Before you start
These steps cover the web beta. Confirm the business and your permission to manage Inventory. Know the product, unit, received quantity, and costs. Count the goods before recording them.
## Before you start
These steps cover the web beta. Confirm the business and your permission to manage Inventory. Know the product, unit, received quantity, and costs. Count the goods before recording them.
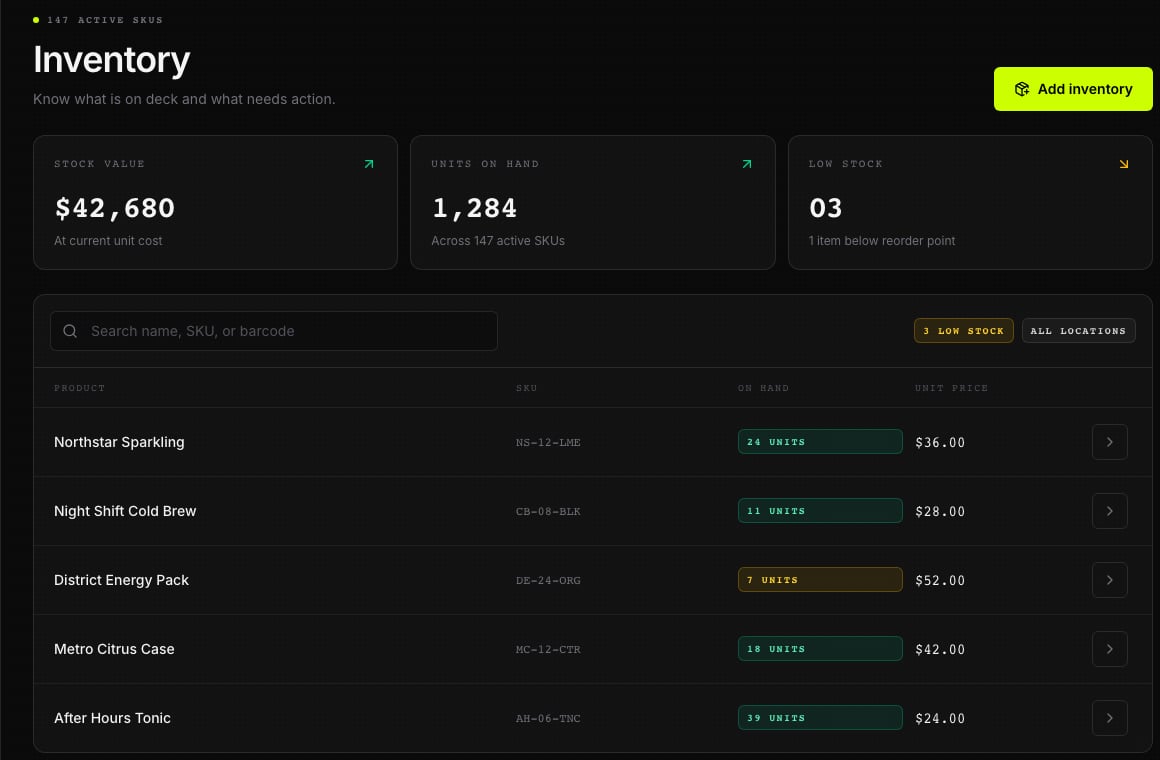 Illustrative screen with fictional data.
## Add or edit a product
1. Open **Inventory** and check for an existing product before choosing **Add product**.
2. Enter **SKU**, **Product Name**, and the other required fields. Review **Initial Quantity On Hand**, **Reorder Alert Level**, **Acquisition Unit Cost ($)**, and **Selling Retail Price ($)** carefully.
3. Review the form and choose **Add Product**, or **Create First Product** in the guided form, once. Confirm the product and values in Inventory.
4. Use **Edit product** for an approved product edit. Do not change a product's count to hide a missing sale or failed intake.
A product name, SKU, barcode, customer alias, and quantity shortcut are different things. Do not assume a SKU is a barcode mapping or that a shortcut changes the product's selling unit. This guide does not promise CSV import, bulk intake, or product archiving on screens that do not offer them.
## Receive goods
1. In **Inventory**, choose **Add stock**.
2. Select **Product** and check the unit beside the received quantity or weight.
3. Enter **Total Cost** for the whole intake and the actual quantity received. Do not enter unit cost in the Total Cost field.
4. Enter **Supplier (Optional)** and **Delivery Cost** only when needed. Delivery cost is separate from the displayed product cost calculation.
5. Choose **Review & Process Intake**. Check the product, amount, unit, and costs.
6. Choose **Confirm Intake** once and wait for the result.
If the result says approval is required, have an authorized approver review it before treating the goods as available. Do not submit the same intake again.
## Correct a count
1. Verify the physical count and review recent sales and movements.
2. In **Inventory**, choose **Fix count**. On **Adjust inventory**, choose **Select Product**.
3. Choose **Set Quantity To** for a final count, **Add (+)** for an increase, or **Remove (-)** for a decrease.
4. Enter **Quantity** for that action and a specific **Reason**.
5. Review the change, then choose **Confirm Adjustment** once.
## What happens next
Return to Inventory and choose **Refresh**. Use **Stock history** to check the saved movement and resulting count. A pending approval or uncertain response needs review before another entry. A reorder threshold is a warning setting, not a correction to the actual count.
## Related articles
* [Troubleshoot inventory and audit](/inventory/troubleshoot-inventory-and-audit)
Illustrative screen with fictional data.
## Add or edit a product
1. Open **Inventory** and check for an existing product before choosing **Add product**.
2. Enter **SKU**, **Product Name**, and the other required fields. Review **Initial Quantity On Hand**, **Reorder Alert Level**, **Acquisition Unit Cost ($)**, and **Selling Retail Price ($)** carefully.
3. Review the form and choose **Add Product**, or **Create First Product** in the guided form, once. Confirm the product and values in Inventory.
4. Use **Edit product** for an approved product edit. Do not change a product's count to hide a missing sale or failed intake.
A product name, SKU, barcode, customer alias, and quantity shortcut are different things. Do not assume a SKU is a barcode mapping or that a shortcut changes the product's selling unit. This guide does not promise CSV import, bulk intake, or product archiving on screens that do not offer them.
## Receive goods
1. In **Inventory**, choose **Add stock**.
2. Select **Product** and check the unit beside the received quantity or weight.
3. Enter **Total Cost** for the whole intake and the actual quantity received. Do not enter unit cost in the Total Cost field.
4. Enter **Supplier (Optional)** and **Delivery Cost** only when needed. Delivery cost is separate from the displayed product cost calculation.
5. Choose **Review & Process Intake**. Check the product, amount, unit, and costs.
6. Choose **Confirm Intake** once and wait for the result.
If the result says approval is required, have an authorized approver review it before treating the goods as available. Do not submit the same intake again.
## Correct a count
1. Verify the physical count and review recent sales and movements.
2. In **Inventory**, choose **Fix count**. On **Adjust inventory**, choose **Select Product**.
3. Choose **Set Quantity To** for a final count, **Add (+)** for an increase, or **Remove (-)** for a decrease.
4. Enter **Quantity** for that action and a specific **Reason**.
5. Review the change, then choose **Confirm Adjustment** once.
## What happens next
Return to Inventory and choose **Refresh**. Use **Stock history** to check the saved movement and resulting count. A pending approval or uncertain response needs review before another entry. A reorder threshold is a warning setting, not a correction to the actual count.
## Related articles
* [Troubleshoot inventory and audit](/inventory/troubleshoot-inventory-and-audit)