> ## Documentation Index
> Fetch the complete documentation index at: https://docs.deelrxcrm.com/llms.txt
> Use this file to discover all available pages before exploring further.
# Quick Sale checkout
> Record a sale through Point of Sale and confirm the saved order before starting another.
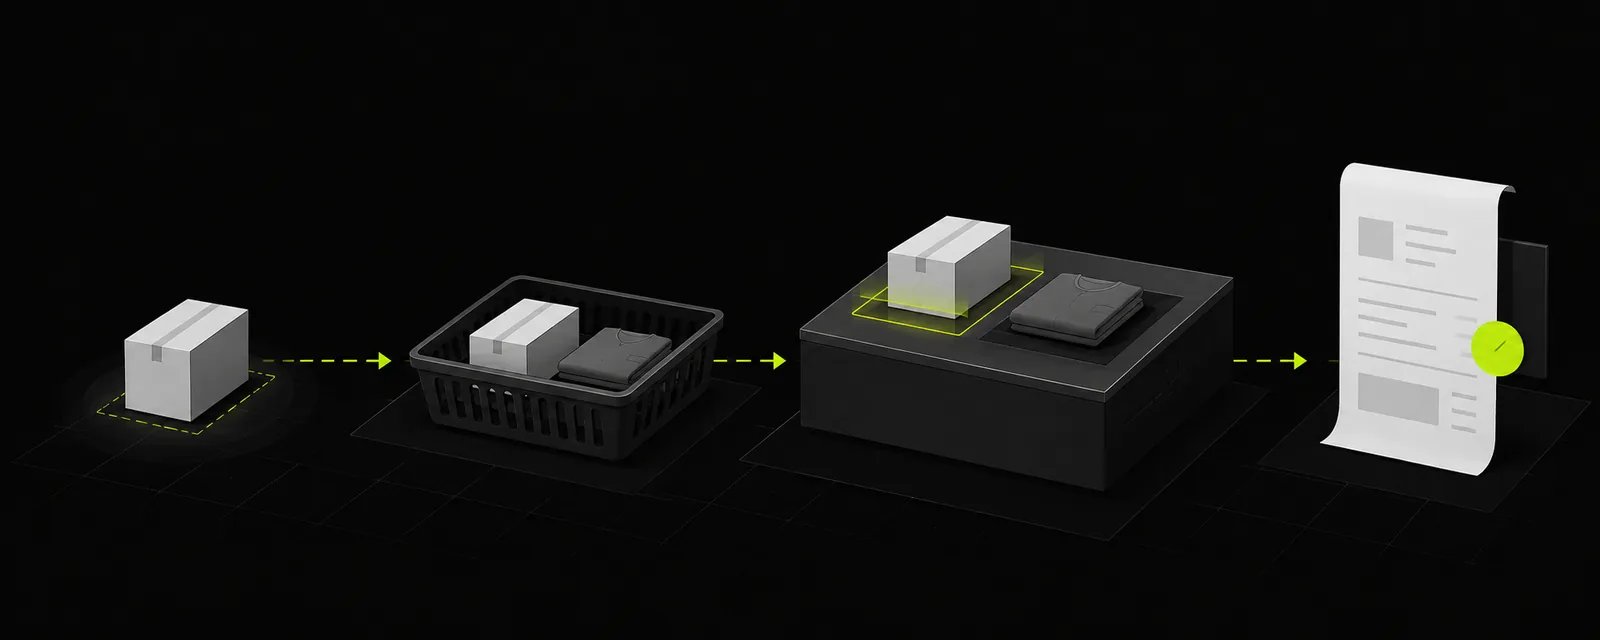 ## Before you start
These steps cover the web beta. Confirm the business, checkout access, products, and prices. Use the shop's approved process to receive a payment. Selecting a payment method in DRX records it; it does not by itself charge a card or transfer money.
Do not use real sales to test a device or connection. Offline checkout is not promised by this guide.
## Before you start
These steps cover the web beta. Confirm the business, checkout access, products, and prices. Use the shop's approved process to receive a payment. Selecting a payment method in DRX records it; it does not by itself charge a card or transfer money.
Do not use real sales to test a device or connection. Offline checkout is not promised by this guide.
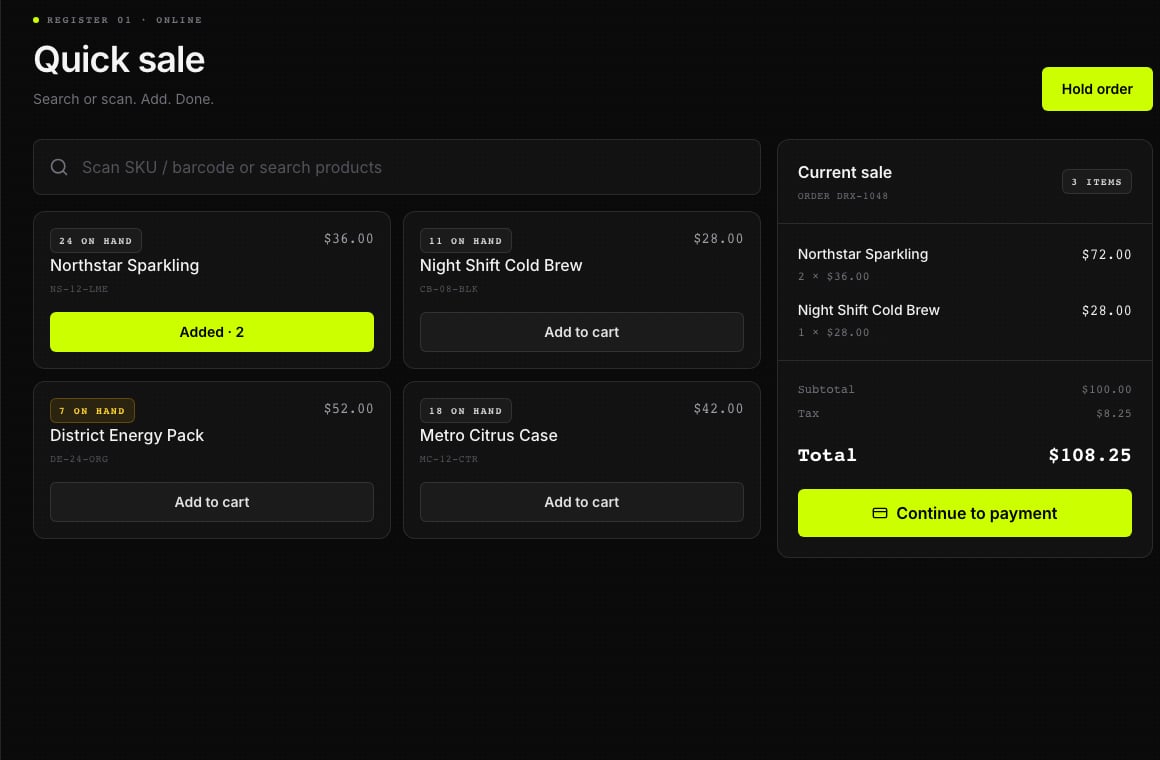 Illustrative screen with fictional data.
## Build the sale
1. Open **Point of Sale** from web navigation.
2. Use **Scan SKU / barcode or search products** or the available product choices to add items.
3. Check each product, quantity, unit, and price. Review any displayed discount before continuing.
4. If needed, use **Customer (Optional)**, enter an existing **Alias** or permitted **Phone number**, choose **Lookup**, and select the correct record. Confirm **Attached:**. Credit needs an eligible customer.
5. Choose **Continue to Payment** or the **Pay** button showing the total, depending on the screen layout.
## Record payment and finish
1. Wait for the verified total. Review **Subtotal**, **Merchandise tax**, and any delivery charges or tax shown.
2. Choose the matching **Payment Method**: **CASH**, **CARD**, or **CREDIT** when offered. This checkout uses one method; it does not offer a mixed-payment or Zelle checkout option.
3. For credit, review eligibility and select **Confirm credit charge**. Do not use credit to record repayment of an old balance.
4. Under **Receipt**, choose **PRINT**, **SMS**, or **NONE**. These are receipt preferences; the choice alone does not prove a receipt was printed or sent.
5. Choose **Complete Sale** once and wait for confirmation.
## What happens next
Confirm the order reference and total on the completion screen. Check the saved order in **Orders & Receipts** if anything is unclear. Verify printing or delivery separately if your shop uses a receipt service.
If the result is uncertain, do not start another checkout or request payment again until the saved sale and actual payment have been checked.
## Related articles
* [Sales history and receipts](/sales/sales-history-and-receipts)
* [Troubleshoot checkout and payments](/sales/troubleshoot-checkout-and-payments)
Illustrative screen with fictional data.
## Build the sale
1. Open **Point of Sale** from web navigation.
2. Use **Scan SKU / barcode or search products** or the available product choices to add items.
3. Check each product, quantity, unit, and price. Review any displayed discount before continuing.
4. If needed, use **Customer (Optional)**, enter an existing **Alias** or permitted **Phone number**, choose **Lookup**, and select the correct record. Confirm **Attached:**. Credit needs an eligible customer.
5. Choose **Continue to Payment** or the **Pay** button showing the total, depending on the screen layout.
## Record payment and finish
1. Wait for the verified total. Review **Subtotal**, **Merchandise tax**, and any delivery charges or tax shown.
2. Choose the matching **Payment Method**: **CASH**, **CARD**, or **CREDIT** when offered. This checkout uses one method; it does not offer a mixed-payment or Zelle checkout option.
3. For credit, review eligibility and select **Confirm credit charge**. Do not use credit to record repayment of an old balance.
4. Under **Receipt**, choose **PRINT**, **SMS**, or **NONE**. These are receipt preferences; the choice alone does not prove a receipt was printed or sent.
5. Choose **Complete Sale** once and wait for confirmation.
## What happens next
Confirm the order reference and total on the completion screen. Check the saved order in **Orders & Receipts** if anything is unclear. Verify printing or delivery separately if your shop uses a receipt service.
If the result is uncertain, do not start another checkout or request payment again until the saved sale and actual payment have been checked.
## Related articles
* [Sales history and receipts](/sales/sales-history-and-receipts)
* [Troubleshoot checkout and payments](/sales/troubleshoot-checkout-and-payments)