
Before you start

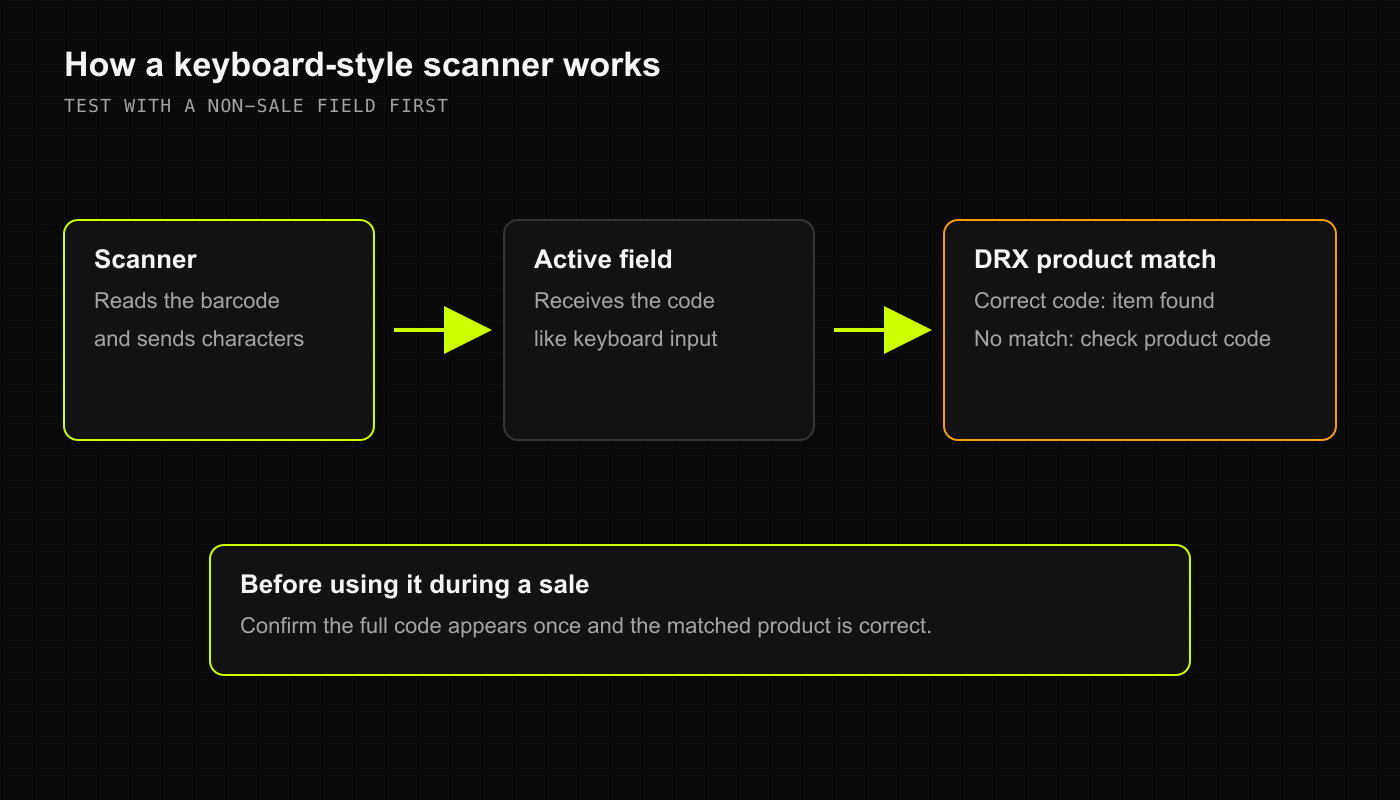
These steps cover keyboard-style scanners with the web beta. Compatibility depends on the scanner, device, and browser; this guide is not a hardware certification. Use the manufacturer’s pairing instructions for your model. Do not use customer records or a completed sale to test the connection. A keyboard-style scanner sends a code to the active field, where DRX tries to match a product.
Connect and check a scanner

  1. Connect the USB scanner, or pair a Bluetooth scanner through your device’s settings.
  2. If your scanner supports a keyboard-input mode, select it using the manufacturer’s instructions.
  3. Open Point of Sale and focus Scan SKU / barcode or search products.
  4. Scan a known product code once. Confirm the characters and matching product before adding it.
  5. Check the cart’s product, unit, quantity, and price before any real checkout.
A scanner reads a code; it does not create a product or guarantee that the code is mapped correctly. Ask an authorized Inventory user to review a mismatch rather than creating a duplicate product.

If scanning does not work

If no characters appear, check the connection and field focus. If the wrong characters appear, review the scanner’s keyboard configuration with its manufacturer. If the code appears but no product matches, search the product name or SKU and check the existing record. The current web search field does not provide a camera-scanning procedure. Do not assume an iPhone or Android camera feature is available because another screen or device has it.

What happens next

Use the scanner only after confirming the correct result on the intended device. Receipt printing is a separate connection and workflow; a working scanner does not prove the printer works.